Ninja Creami Banana Ice Cream: Your Guide to Easy & Ultra-Creamy Perfection
Imagine a scoop of luscious, naturally sweet ice cream that tastes like a dream, yet requires minimal effort and boasts better-for-you ingredients. This isn't just a fantasy; it's exactly what you get with
Ninja Creami banana ice cream. Leveraging the innovative technology of the Ninja Creami machine, we transform simple, wholesome ingredients into a dessert that's incredibly smooth, rich, and bursting with authentic banana flavor. Forget artificial additives and complicated cooking – this recipe makes indulging in homemade ice cream an absolute breeze.
This isn't your average "nice cream" made purely from frozen bananas; while delicious, the Ninja Creami takes the texture to an entirely new level. We're talking about a true, scoopable ice cream consistency that melts slowly and satisfies deeply. Whether you're a seasoned Ninja Creami enthusiast or new to the world of homemade frozen treats, prepare to be amazed by how effortless it is to create this sweet, refreshing delight.
Why You'll Fall in Love with This Ninja Creami Banana Ice Cream Recipe
There are countless reasons why this particular recipe for
Ninja Creami banana ice cream is destined to become a staple in your household. It ticks all the boxes for a perfect dessert: delicious, easy, and even allows for healthier customization.
*
Naturally Sweetened Perfection: Say goodbye to excessive refined sugars. The star of this recipe is the ripe banana, which provides a profound natural sweetness and a beautiful, authentic flavor profile. We complement this with a touch of honey or maple syrup, allowing you to control the sweetness level perfectly. This makes it a fantastic, healthier alternative to many store-bought ice creams.
*
Unmatched Ultra-Creamy Texture: This is where the Ninja Creami truly shines. Unlike traditional methods that can result in icy textures, our careful selection of ingredients like Fairlife milk and heavy cream, combined with the Creami's unique processing, yields an exceptionally smooth, dense, and velvety consistency. Fairlife milk, being ultra-filtered, helps minimize ice crystal formation, contributing significantly to that dream-like creaminess.
*
Effortless and Quick Preparation: Forget the stovetop custards or hours of churning. The beauty of the Ninja Creami is its simplicity. The process boils down to just three main steps: blend your base, freeze it, then process it in the Ninja Creami. It’s an ideal recipe for busy individuals or anyone looking for a gourmet-quality dessert without the fuss.
*
Kid-Friendly and Versatile: Banana is a universally loved flavor, making this ice cream an instant hit with children and adults alike. It’s naturally appealing and provides a fun, customizable base. Serve it plain for a pure banana experience, or get creative with toppings and mix-ins – the possibilities are endless for creating a personalized treat.
Essential Ingredients for Your Ultra-Creamy Base
The secret to an incredibly creamy and flavorful
Ninja Creami banana ice cream lies in a few simple, high-quality ingredients. Each component plays a crucial role in achieving that perfect texture and taste.
*
Ripe Bananas: The riper, the better! Look for bananas with plenty of brown spots on the peel, as these are at their peak sweetness and flavor. A single medium-to-large ripe banana is usually sufficient, but if you have smaller bananas, two will ensure a robust banana flavor. The natural sugars in ripe bananas are key to reducing the need for added sweeteners.
*
Fairlife 2% Milk (or Whole Milk): This is a game-changer for Ninja Creami recipes. Fairlife milk is ultra-filtered, which means it has fewer lactose sugars and more protein than regular milk. Crucially for ice cream, this filtration process also helps prevent the formation of large ice crystals during freezing, resulting in a significantly smoother and creamier final product. You can use 2% for a slightly lighter option or whole milk for maximum richness.
*
Dairy-Free Alternative: For a delicious dairy-free version, unsweetened almond milk or oat milk works wonderfully. While the texture might be slightly less dense than with Fairlife, it will still be incredibly tasty.
*
Heavy Cream: This ingredient is essential for achieving that luxurious, rich mouthfeel. Heavy cream adds fat content, which is vital for preventing iciness and contributing to the overall creaminess.
*
Dairy-Free Alternative: Canned full-fat coconut cream (chilled, scoop out the thick cream) can be used as a dairy-free substitute to replicate the richness.
*
Honey (or other natural sweetener): While ripe bananas provide a lot of sweetness, a touch of honey enhances the flavor and ensures a perfectly balanced dessert. You can also opt for maple syrup or agave nectar for a vegan-friendly option, or a tablespoon of brown sugar as suggested in some variations for a slightly caramelized note. Adjust to your personal preference.
*
Vanilla Extract: A splash of pure vanilla extract elevates all the other flavors, adding a subtle warmth and depth that rounds out the banana's natural sweetness beautifully. Don't skip it!
Crafting Your Ninja Creami Banana Ice Cream: Step-by-Step Guide
Making this delectable
Ninja Creami banana ice cream is incredibly straightforward. Follow these simple steps for a truly rewarding dessert experience.
1.
Blend the Base: In a high-speed blender, combine your ripe banana(s), Fairlife 2% milk (or alternative), heavy whipping cream (or alternative), honey (or sweetener of choice), and vanilla extract. Blend until the mixture is completely smooth and uniform.
*
Quick Tip: If you enjoy small, soft banana chunks in your ice cream, don't blend it perfectly smooth. Instead, pulse the mixture a few times until just combined, leaving some tiny pieces intact.
2.
Freeze the Pint: Carefully pour your blended mixture into a Ninja Creami pint container. Ensure that you do not fill the container past the "MAX FILL" line to allow for expansion during freezing and processing. Securely place the lid on the pint and transfer it to a level surface in your freezer. For optimal results and the firmest freeze, allow it to freeze for a minimum of 24 hours. A well-frozen pint is crucial for the Ninja Creami to work its magic effectively.
3.
Process in the Ninja Creami: Once your pint is solidly frozen, remove it from the freezer. Place the pint into the Ninja Creami's outer bowl, then attach the lid assembly firmly. Lock the outer bowl into your Ninja Creami machine. Select the "Ice Cream" setting and let the machine work its magic.
4.
Re-spin for Ultimate Creaminess: After the initial "Ice Cream" spin, you might find the texture a bit crumbly or powdery. This is completely normal and expected! Remove the lid and use a spoon to create a small well in the center of the processed mixture. Add one tablespoon of additional milk (Fairlife or your chosen alternative) or heavy cream into this well. Secure the lid back onto the pint and outer bowl, and then select the "Respin" setting. This crucial step incorporates the added liquid, transforming the texture into that incredibly smooth, ultra-creamy consistency we're aiming for. For more detailed advice on achieving that perfect texture, check out our guide on
Make Perfect Ninja Creami Banana Ice Cream: Tips for Smoothness.
Pro Tips for the Ultimate Ninja Creami Experience
To ensure every batch of your
Ninja Creami banana ice cream is a triumph, keep these expert tips in mind:
*
Embrace the Ripe Banana: We can't stress this enough – the riper your bananas, the sweeter, more flavorful, and naturally rich your ice cream will be. Green bananas won't yield the same results.
*
Don't Fear the Re-spin: The re-spin cycle is not optional; it's essential! It truly makes the difference between a good and an exceptional result. Always add that extra tablespoon of liquid and re-spin for a velvety smooth texture.
*
Get Creative with Mix-ins and Toppings: This banana ice cream is fantastic on its own, but it's also a superb canvas for customization.
*
Mix-ins (after initial spin, before re-spin): Add a handful of mini chocolate chips, crushed graham crackers, chopped walnuts, or even a swirl of peanut butter before the re-spin cycle (select the "Mix-in" button instead of "Respin" if your machine has it, or simply use "Respin" for softer mix-ins).
*
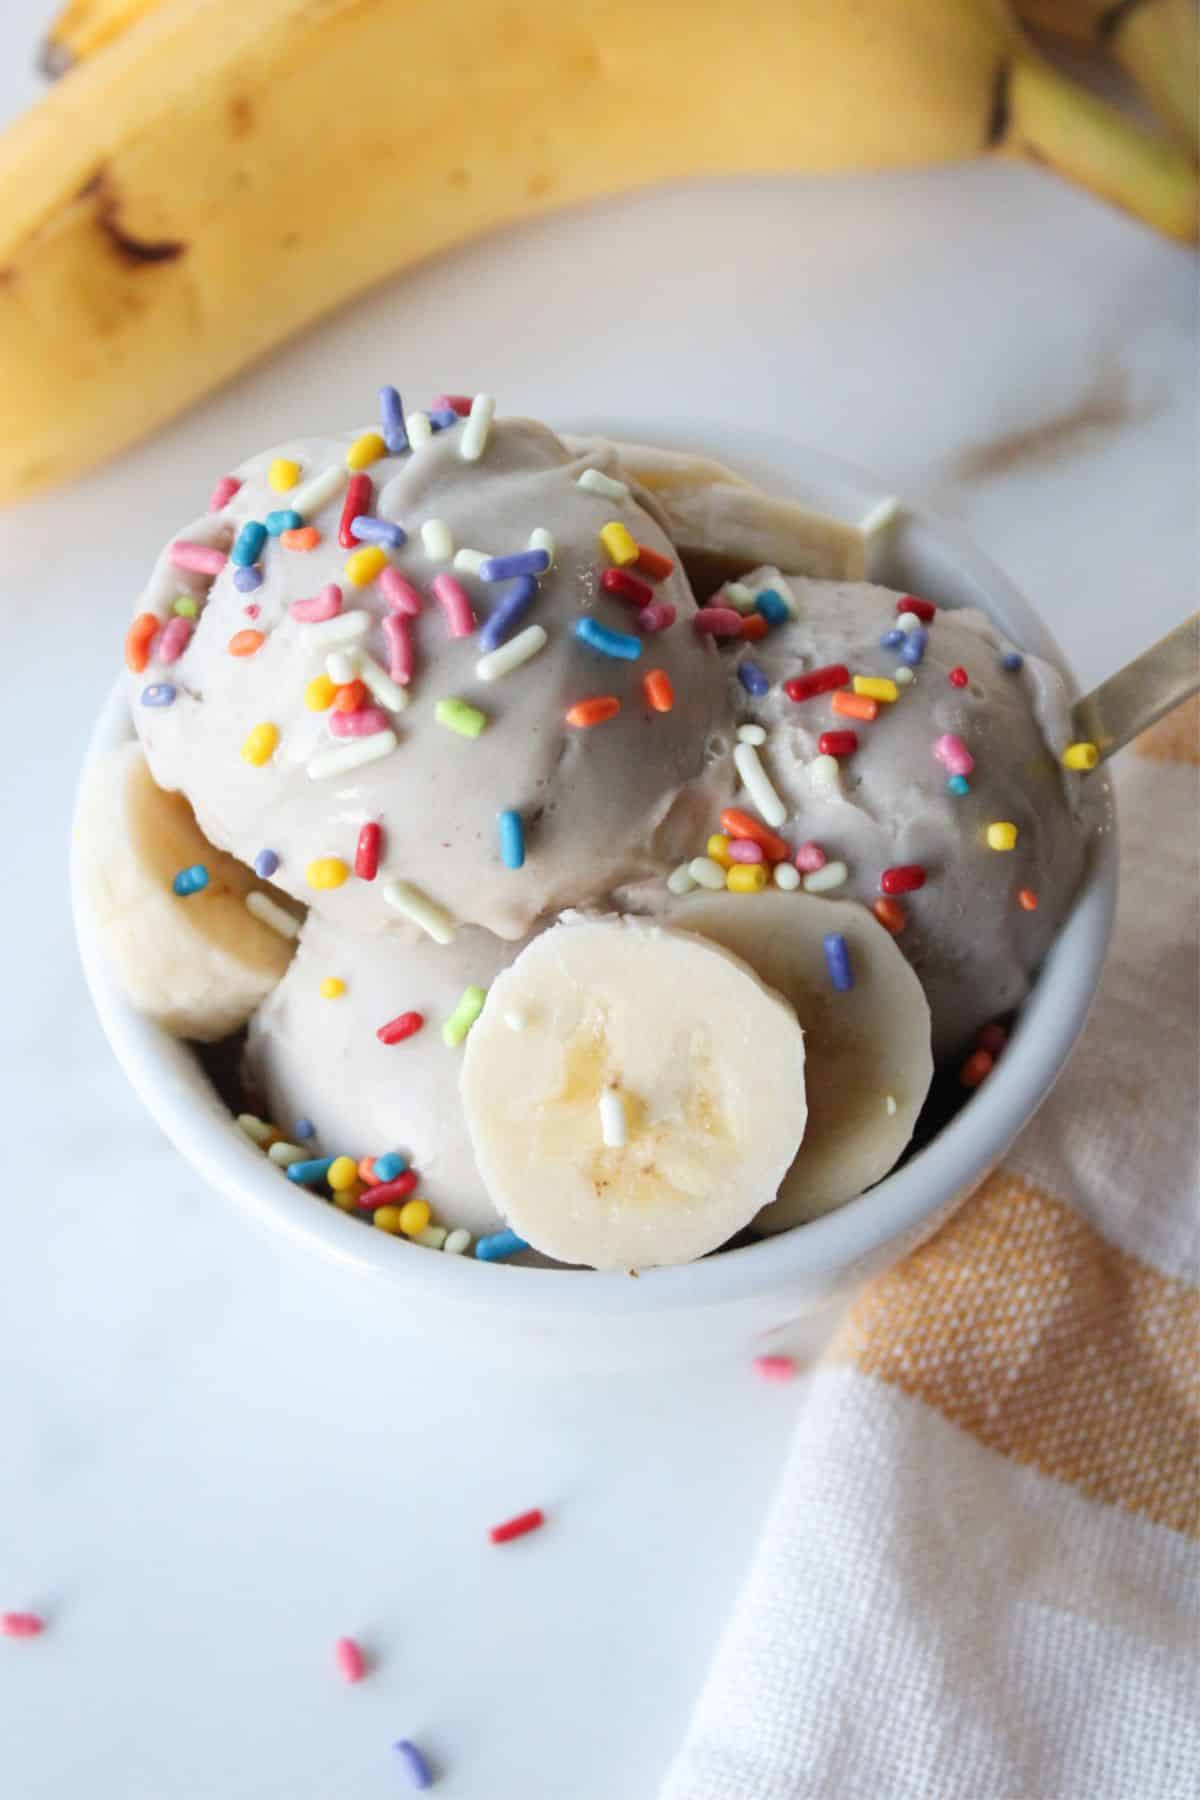
Toppings (after final spin): Drizzle with chocolate sauce, caramel, a dollop of whipped cream, fresh berries, or a sprinkle of cinnamon.
*
Adjust Sweetness to Taste: Taste your base mixture before freezing. If your bananas aren't super ripe or you prefer a sweeter ice cream, feel free to add a little more honey or your chosen sweetener at the blending stage.
*
Consider Flavor Boosters: A pinch of cinnamon or nutmeg blended into the base can add a wonderful warmth and complexity that complements the banana beautifully. A tiny pinch of salt can also enhance sweetness.
*
Storage & Re-processing: If you have leftovers and they refreeze solid, simply re-process the pint on the "Ice Cream" setting with an added tablespoon of milk to bring it back to its creamy glory.
This
Ninja Creami banana ice cream recipe isn't just about making a dessert; it's about crafting a delightful experience. It’s a testament to how simple, wholesome ingredients can be transformed into something truly extraordinary with the right tools and a few smart techniques. For those looking to integrate healthier options into their dessert routine, our article on
Healthy Ninja Creami Banana Ice Cream: Naturally Sweetened Delight offers even more insights.
Conclusion
Making your own
Ninja Creami banana ice cream is a game-changer for dessert lovers. It’s an effortless way to enjoy a rich, ultra-creamy, and naturally delicious treat right in your own kitchen. With just a few simple ingredients and the magic of your Ninja Creami, you can create an ice cream that's superior in flavor and texture to many store-bought options. This recipe is not only incredibly satisfying but also allows for healthier choices and endless customization. So go ahead, grab those ripe bananas, blend up your base, and get ready to indulge in the best homemade banana ice cream you've ever tasted!